Showing posts with label fun with the kids. Show all posts

October 19, 2014

Halloween decor and Fall Fun

Who can resist the Fall when there are field trips to go on, pumpkins to carve, harvests to gather and apple crisp to eat?  Yay fall is here! 

I have volunteered to chaperon for this field trip with each of my kids, very selfishly too.  I love the delight that the kids experience as they go through a corn maze, and the games that they enjoy at the end.  The pumpkin picking is so exciting for them, and they could care less that they are hungry or tired when they see all the fun themed playground toys.  There is even a kid-zoo spot, where farm animals live.  I'd pretty much elbow out other moms to get to the sign up sheet for this field trip.

This is L loving on his pumpin and Chester (the preschool pet stow away that comes on certain field trips.  Who knew raccoons are so docile?)


This is notable, because it's difficult for L to feel like he even wants to do some of this stuff.  He usually holds back until everyone is done with the activity until he wants to join.  He is so handsome when he smiles!  Good job, buddy!


Amazing play-land and spooky tunnels to crawl through.


I love this musty smelling pumpkin.  It's right next to the animal habitat, and I'm pretty sure that goat stink is on that baby for life.  But the kids don't care at all.


May 16, 2014

Owl rice bags with tutorial

We call these warmers "Owlies".  One night a few years back, in a desperate attempt to get my 4 kids to actually sleep when we put them to bed, I decided that a warm, fragrant buddy would help.  So I whipped up an owl shaped rice bag.  I figured owls are nocturnal, and we could tell our kids that they'll stay up watching for anything to happen, while the kids sleep.  And they did sleep!  Even my babies have responded beautifully, and are quiet within minutes of getting their warmed up Owlie.
 This is version 2, with a few improvements.


 To make these beauties, Download and print off this template.  

Trace them on fabric.  Cut each piece in different coordinating fabrics, if you want.  Use pinking shears, so the fabrics don't fray excessively.  Then lay the pieces out in front of you.


Begin pinning all of the pieces together, leaving the back of the owl aside until later.  
Sew the large eye circles on first, in a rounded stitch like I did, or a simple straight stitch.


Sewing the eyes will also catch the beak and the belly piece, so keeping them all tacked together won't be hard after this.


Now stitch over each eye pupil shape, and around the belly and beak.


Finally, sew up the front and back together, wrong sides touching.    Sew directly on top of the pieces of fabric you've already sewn on there.  It'll just reinforce them.   Be sure to leave a 3 inch gap open so you can add the rice!  I recommend sewing midway along the flat bottom to begin, that way you'll end off at the wing. 


Now get 2 Cups of rice per bag, and drop about 10 drops of fragrance oil into it.  We chose vanilla Spice, citrus grove, and lavender from Wal-Mart.  It was only 97 cents, and is the same stuff you'd put in a ceramic dish to diffuse.  Put only one scent in per bag, and beware they're really fragrant when you heat up the owlie, so don't put too much oil in!


Next, let your toddlers scoop the rice into a funnel that you're holding, with the owlie fabric stretched around it.


This is how it will look with the 2 C of scented rice added.


The Owl will be baggy enough that you can still scoot the rice over to one side of the bag and sew up the 3 inches of gap on your sewing machine.  Be sure to back stitch on the beginning and end of the 3 inches.


And now you have a cute little guy who smells nice and keeps the night watch while your sleeper sleeps.


My boys made sure that theirs had tools and gears on them so they were boy owlies.  So funny!


One happy buddy!  Enjoy!

April 22, 2014

Easter

Easter was sweet this year.
We felt so blessed to have all our munchkins, and see the delight on their faces.


This was the first year that some of our family had been on an official Easter Egg Hunt


The older kids still scramble for the gorgeous pops of color that were hidden so well in the bushes and trees.


Everyone filled their baskets up, reminding us of how blessed we are to even be able to afford such luxuries.


Our oldest was just back from her soccer game, aptly called the 'Blue Butterlies'.  They're so funny to watch as they play and chase the ball around, all grouped up like they just want to hang out rather than chase a ball all over a field.


Such a good sister.


And here the products of their creativity and mine and grandpa's as we all sat down to dye eggs.  Complete with lessons on how to turn an egg brown, we had caterpillar and insect stickers.  Crayons (even if they are a simple technique) made their showiing, and our kids loved watching the eggs turn brilliant aqua and fuschia.

We always have our traditional hunts and egg dying on Saturday, and then reserve Sunday for the more holy part of the holiday.  (I have such a hard time with the Easter Bunny when I want to focus on the resurrection, but these young years aren't many)  We had a special talk at dinner about the resurrection, and we shared how thankful we are that because of the Savior, the bands of death are broken, and we can live together for ever.

This video sums it up pretty well for us:


May the message of the season linger with us a little longer.

April 18, 2014

15 ingenious DIY teacher gifts that will blow their socks off

I have told myself that I will find a way to thank my kids' teachers for one thing or another probably 6 times now.  For things that were really important to me (like working with our boy on listening and obeying class rules better, and helping our daughter to establish confidence in academics).  We have really great teachers.  That translates to 'I wish I could buy you some lavish gift, but you're probably going to get the best gift 10 dollars can pay for'.

These brilliant DIY gifts will probably knock their socks off!


Darling note cards from Mommy by Day Crafter by Night

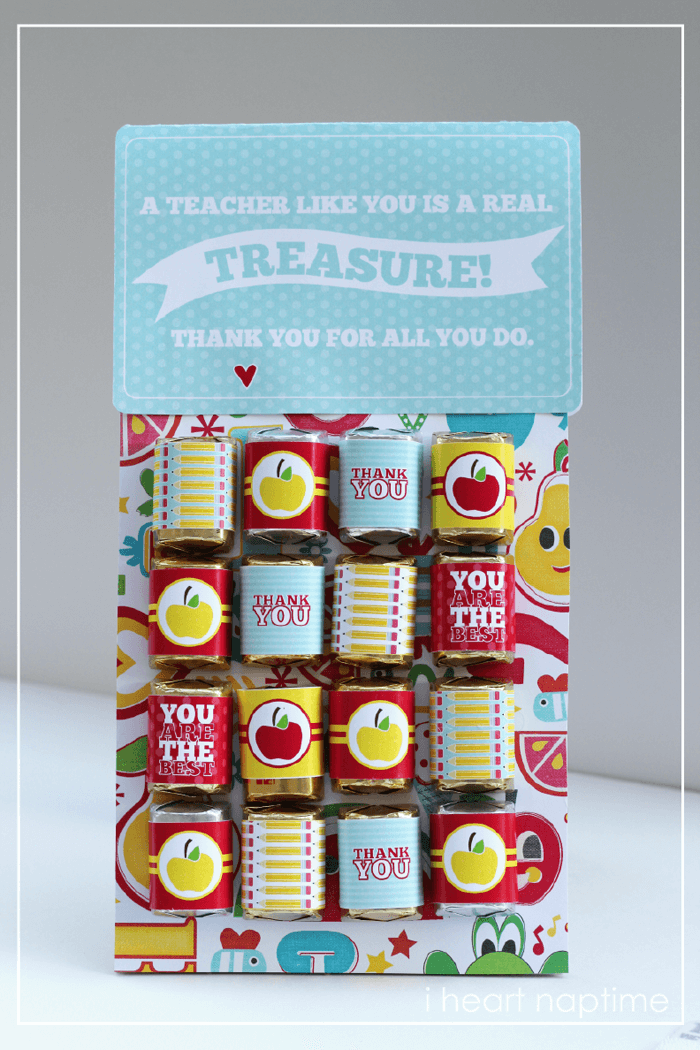
Genius 'App' card with chocolates.  Free printable and tut at I heart Naptime


This lady makes the dollar store look like Tai Pan.  By Passionate Penny Pincher


This treat is not only beautiful but exciting when you realize that it's an ice cream sundae kit!  When I made mine, I simply went to my local grocery store and asked if I could buy a couple of their pastry boxes.  They p0let me, and it turned out so cute.  Visit A Pretty Cool Life for more.


Darling and low cost terra cotta apple stuffed with treats from 733 blog


Dr. Seuss mason jar made by The Country Chic Cottage


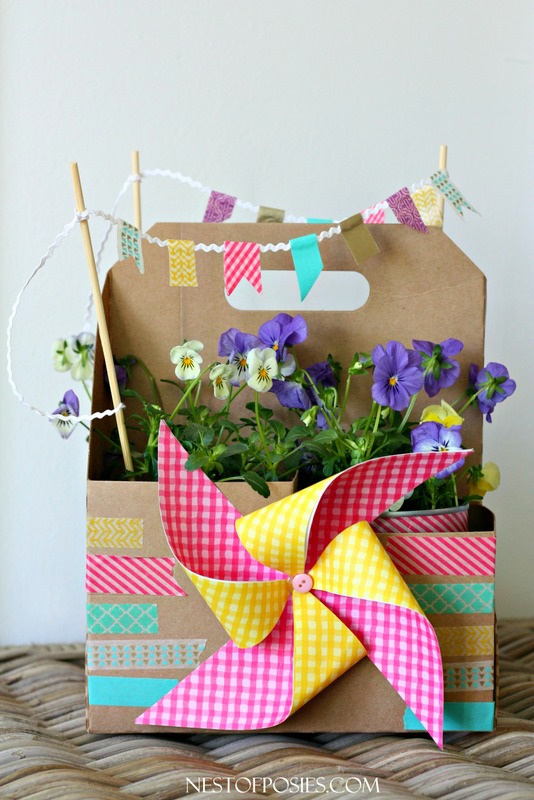
This gift is so creative and it upcycles!  She uses a drink cartridge from Sonic and tin cans for those pansies.  SO Brilliant!!  From Nest of Posies


Darling way to give a gift card, and would be a great memory keeper of your kiddos for an excellent teacher.   I also really liked that she had her kids write down their favorite things about class on the inside of these. From Come Together Kids


Beautiful free printable tags at Sweet Metel Moments
Also from her:


Darling gum gift with free printables also at Sweet Metel Moments


This is so brilliant, and I love that it goes with these adorable friend gifts for the end of the year:


Brilliance by Lisa Storms


I love the spray painted pups at the top!  By Smashed Peas and Carrots


Darling and as she says, perfect for last minute teacher gifts.  From Skip To My Lou

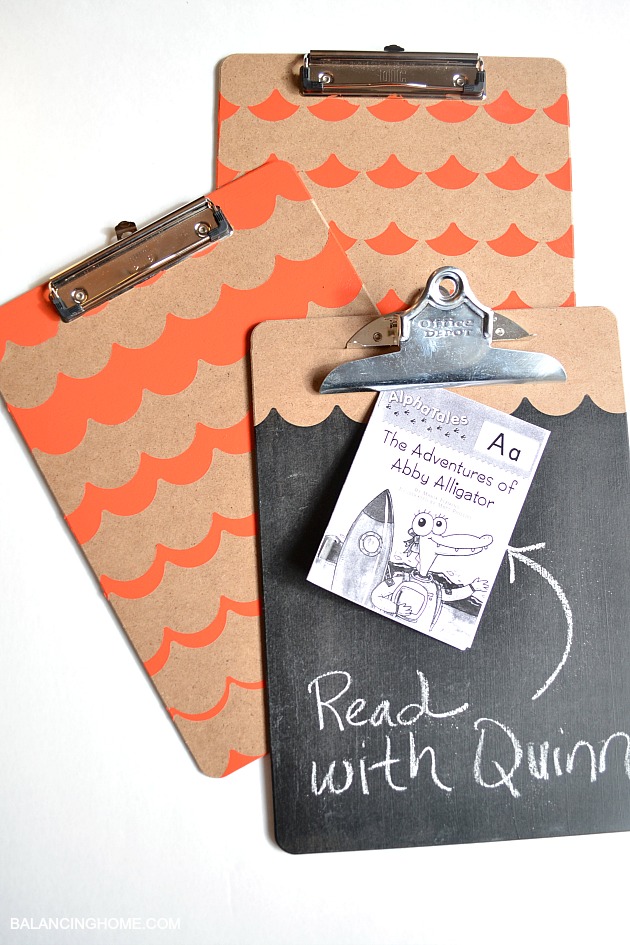
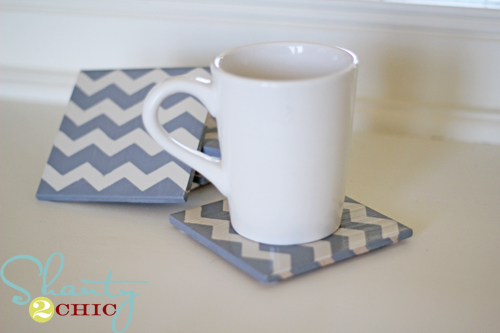
These chic beauties are also useful!  By Balancing Home


I love the simple design.  It would be very easy to give these even if you weren't sure of the teacher's taste.  By Shanty 2 Chic

Enjoy, and may your teachers be amazed by your goodness!

April 16, 2014

Brilliant with boxen

If you appreciate Brian Regan, you know what boxen are.  Essentially my boys dominated with the boxen today, much to the chagrin of my husband (who will be seeing this for the first time here.  Hehe love you honey).

We have a steep hill in our back yard that is almost impossible to grow grass on.  Not only because it doesn't hold water for long enough to get into the roots, but also because our kids think it's their personal playground.  Why a hill?  Not easy to stay on there.  Not easy to do anything but awkwardly gallop down it.  And yet they continue to try to roll down the hill, tearing up the meager grass in the process.

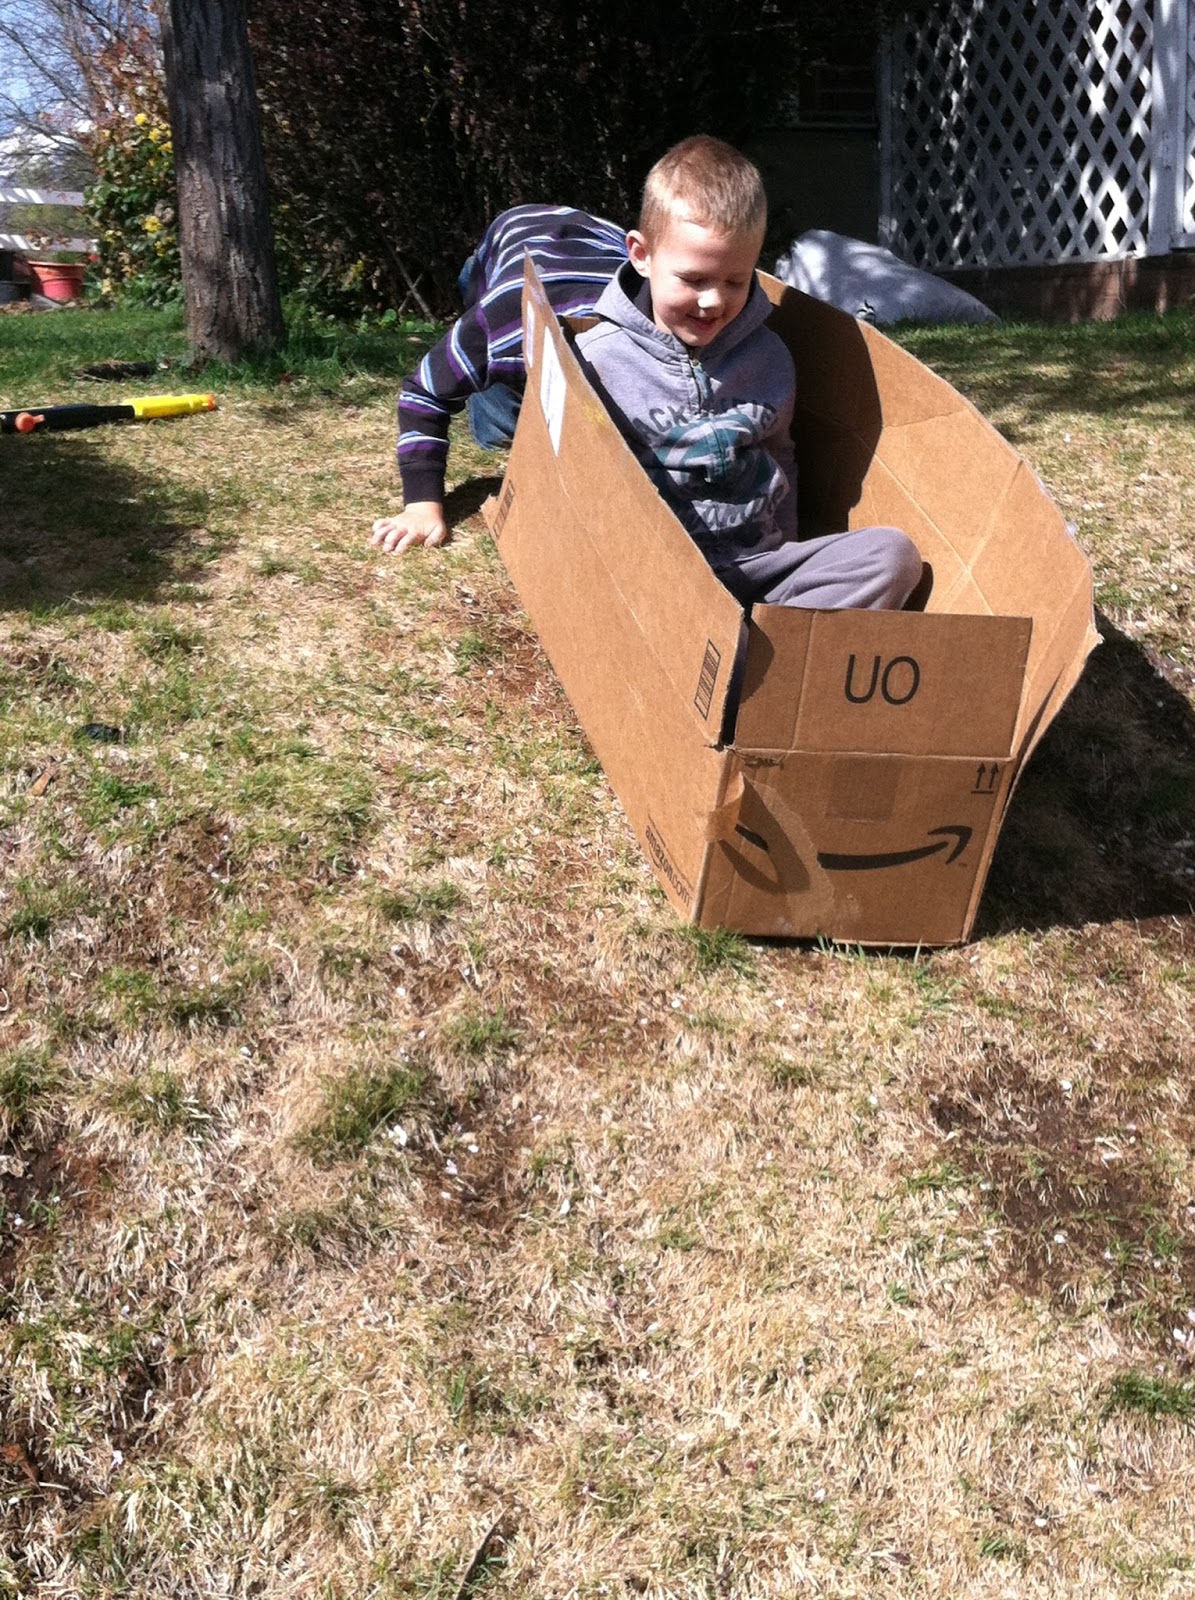
So it was no surprise when my boys came up with this:
That's right.  One boy in the box, one boy pushing.  Forcing the box down the hill.  There was no sliding here.


And there's the best way to push!  With your head.  Don't worry it's probably a genetic thing.  From his Dad of course.


I being the brilliant parent that I am, and also slightly careless with our lawn (trying to justify my idea because 'this is better for the lawn than pushing a boy in a box along as it uproots each tiny tuft of grass) I came up with this:

'
Yep, you see that right.  My sweet daughter going head over heels as she slides down the unfolded box on a tiny scrap of plastic bag (hey, she was having craisins in that bag!  We're upcyclying)

Now we have speed, which turns out isn't so good for the slightly sicker bottom patch of the hill.
Yep.
This was our last upgrade to the whole sliding-speed continuum.  We tied the bags onto their bottoms and now not only is it the coolest thing to do with a cardboard box, but it's funny too.  Ooh I love that my kids think anything involving the word 'bottom' is funny!

Again, Love, sorry about the lawn.  It was still better for the grass than what they were doing.  Even if there are a few soil divets out of the base of the hill now.  It was probably worth the happiness of your brood, right?


April 15, 2014

Ice bubbles in all their delight!

Meet the coolest bubbles ever made: Ice bubbles.  You simply go outside on a freezing day (sorry warm zones) and blow bubbles!  The temperature freezes them almost instantly, and you can blow bubbles for your toddlers (or giddy self) to hold!  This was so fun!!

step 1: wait for it to be below 32 degrees Fahrenheit  (I suppose you could slip into a commercial freezer and do this trick).  We did this mid December.

Step 2: blow a few bubbles

Step 3: wait 4.5 seconds for them to freeze


Now watch them pop/crack:


Try to get your cold baby interested.


Get as giddy as a school girl with your toddlers when they realize they just smashed a bubble, and part of it landed on their jacket:


Happiness factor: +1
UA-51076917-1