Wild Kratts is an amazing show: 1. it's on PBS 2. It's educational and 3. It's imaginative. Sold. So I shouldn't have been surprised when my 4-to-be-5 year old requested a Wild Kratts party. Really? There is almost zero marketing for the show (it is PBS, afterall), and certainly doesn't have party themed napkins and such in stores. Or so it was in Mar of 2012, when I did this. I don't think they have any yet. So it was time to get creative!
First, you follow these links for what printables there are out there:
See those button looking things? Those are for creature power suits, which you can make. Yes you can. Those buttons will need to be printed off and laminated (or covered with contact paper) to make this:
Here is a great link for those creature power discs if you don't have time or desires to edit the printables from PBS.com:
Print out those Discs, and laminate them by covering them with contact paper, or taking them to a copy shop. Cut them out and apply a square of the itchy side of velcro to the back using a glue gun. Your creature power suit will have a piece of soft velcro in the middle of it, so it can be changed out with other discs.
For the Power suits:
I was wanting super simple, so I simple bought a remnant of black felt from my local JoAnn store, about 1 yard. Using a T-shirt to give me some general bearings of the size that would fit my boy and his friends, I traced (with a white crayon) the T-shirt with the arms and bottom folded in. Simple, and kind of a belly shirt, but it worked wonderfully.
Can you see the white crayon there?
Next you fold it in half to make sure that you're even-stevens on both sides:
When you're not, you trim it up and you get this:
Next you want to use various colors of felt to cut out terribly irregular thin rectangles. You'll need six of each color:
You're going to hot glue those onto the sides of your power suits.
Three on each side between the armpits and bottom edge.
Also, remember that leftover soft square of velcro that we're putting on the suits to stick on the power discs? Here's where it goes, though you probably don't need a diagram
.
You make each power suit it's own color.
Next I used two pieces of ribbon (approx. 22 inches each) to make the back. I simply hot glued the top of one ribbon to one shoulder, and the bottom of that same ribbon to the opposite side's edge (On the diagram, C goes to C and D goes to D). Do the same thing for your second piece of ribbon, and they will make an 'X' for the back. They were loose, and it was easy to put over the kids' noggins.
This is the under side:
Flip it over to the front, and try putting on a creature power disc.
What a beauty!
For the food:
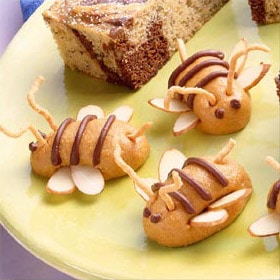
WE (kids included) made several 'animal kingdom' foods. These bees were delicious (people raved about them)! They include peanuts, but require no baking, so it was a complete go for us:
Also we made these Lady bugs on a leaf:
These were incredibly easy and quick, as you simply
1. Slice a baguette loaf
2. Spread cream cheese on each piece (I recommend Philadelphia garden vegetable cream cheese or Great Value chive & onion).
3. Place a leaf of baby spinach on there
4. Slice a grape tomato lengthwise and put it on top.
5. Use a toothpick to dot some dark blue gel color (as in food coloring or
these (Gel food decorators) onto the backs so that they look like lady bugs.
Easy peasy!
We also ate delicious animal cupcakes:
Again, these get my vote for easy.
Crocodiles:
1. Make your favorite cupcakes
2. pipe or spread blue colored frosting on top (I had blue sugar to sprinkle on top of the 'water', so i did)
3. trim the curvy parts off of one half of a Nutter Butter with a sharp, thin knife, until it forms a pointed mouth of a crocodile. Be sure to break half of them while you attempt it, so you can pacify the kids at your ankles asking to help.
4. Heat some green dyed icing in a small bowl in the microwave (maybe 10-15 seconds) until it's runny, and dip the croc-nutter-butter in it.
5.Turn over two white chocolate chips and put them on as eyes.
6.Finally, melt about 10 chocolate chips in a small bowl the microwave (10 sec. intervals) and use a toothpick to dab 'pupils' onto the white eyeballs.
Hippos:
Follow steps 1&2 above, then
1. using half of a bare Nutter Butter, put it on your cupcake at a bit of an angle, so it looks like the head is higher than the nose.
2.Put 2 blue icing dots on the back of the Nutter Butter, at the top. These will hold the ears, which are simply two Cheerios stuck to the icing.
3. Put 2 white chocolate chips on the front as 'eyes' with your icing.
4. Use a toothpick to put two blue 'pupils' on top of the eyes.
Super simple!
Bakerella also gave us these little guys for added variety:
Spoonful.com also gave us this brilliant idea, which was delicious!
I didn't make these, but they'd be excellent at this party!
I love that the fish have carrots and other veggies on there! Tricky, tricky.
As for the decorations
we made vines and hung them all over the backyard deck. We were going for jungle themed out there, though you could pick any landscape you preferred. Here's how:
First, get some brown paper bags next time you do your grocery shopping. Bring them home, cut them down the middle of the side and pull apart the bottom, so you can open it up as shown:
Next, open up the bag and trace as shown here. It's not important for them to be uniform thickness or any sort of perfect drawing. It works with any sort of boxy 's'.
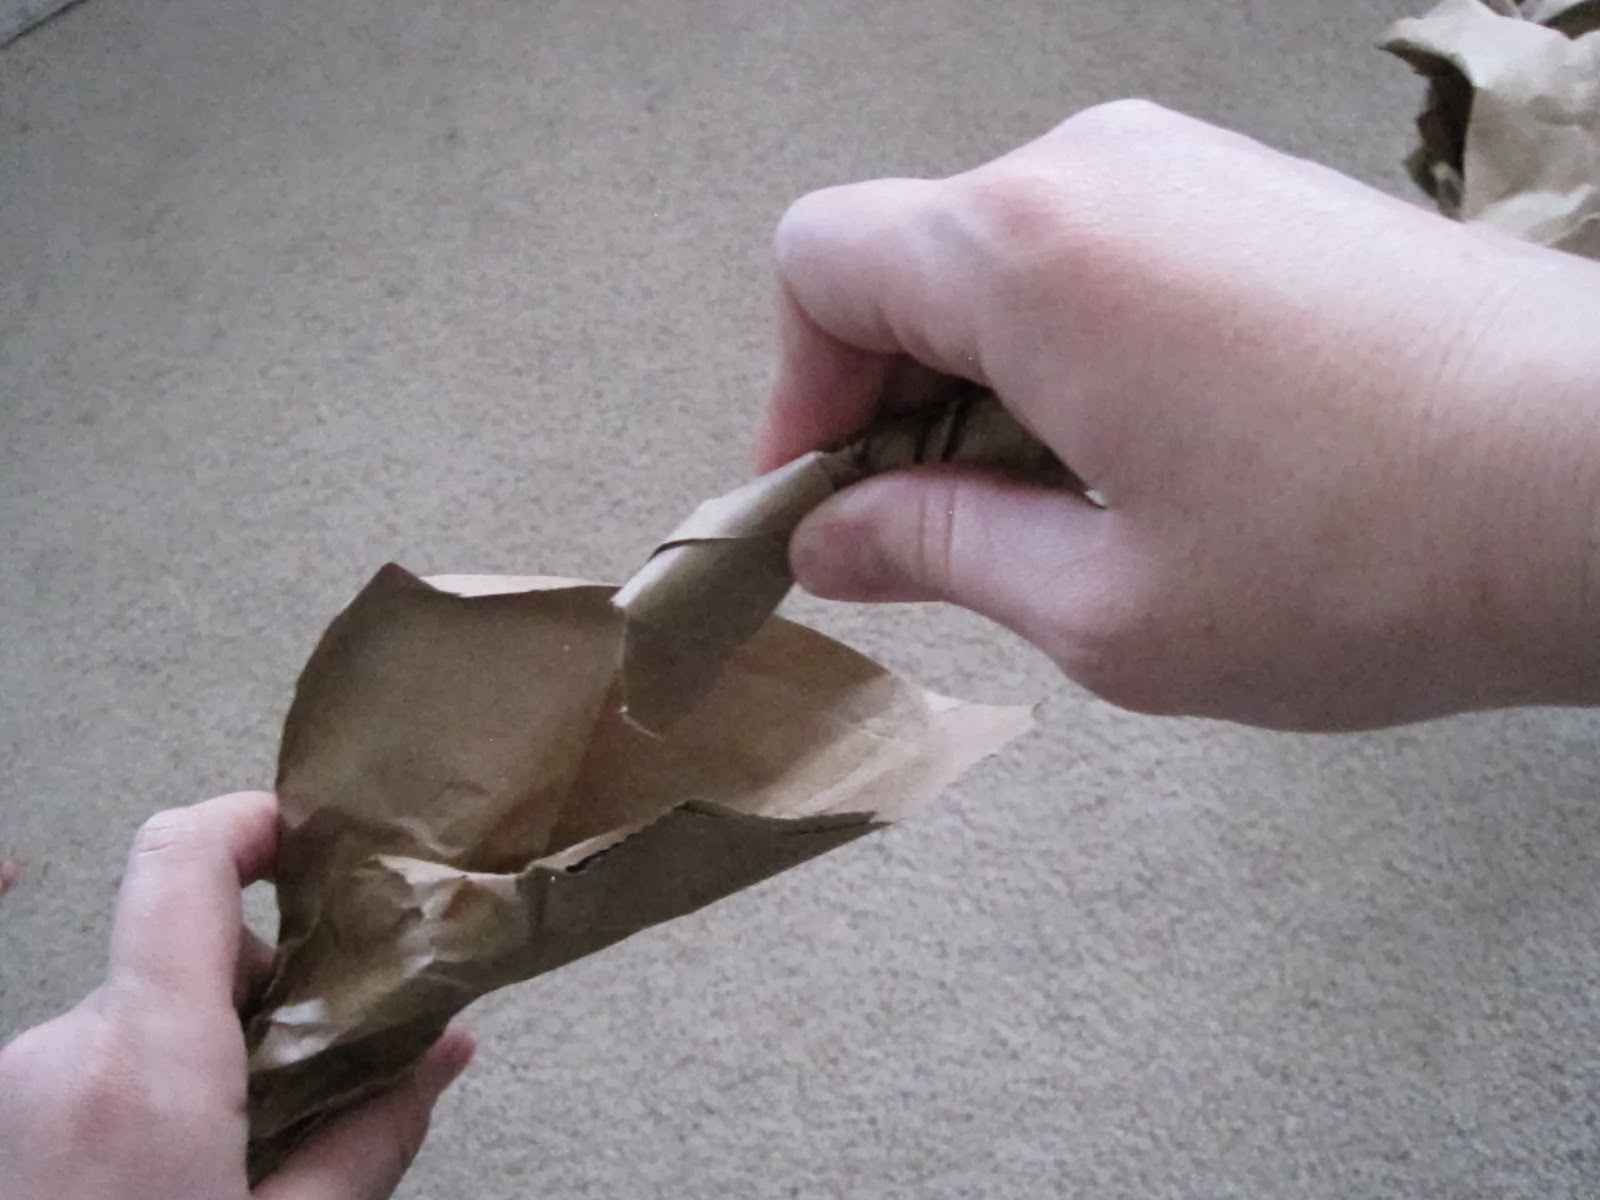
Cut that out on the lines, and then start grabbing and squeezing, twisting every now and then in the same direction.
It really helps if you have an excited boy with big muscles to help.
Continue squeezing and twisting until the length of paper is done. To join it to another vine,
leave the end slightly unwrapped, put in another wrapped end, and wrap tightly around it.
A cute baby inhibited by sleepiness is always helpful too.
Ta-Da! Now you have long viney vines, to hang about and set the scene for jungle games.
Part 2 of Wild Kratts party is coming soon.